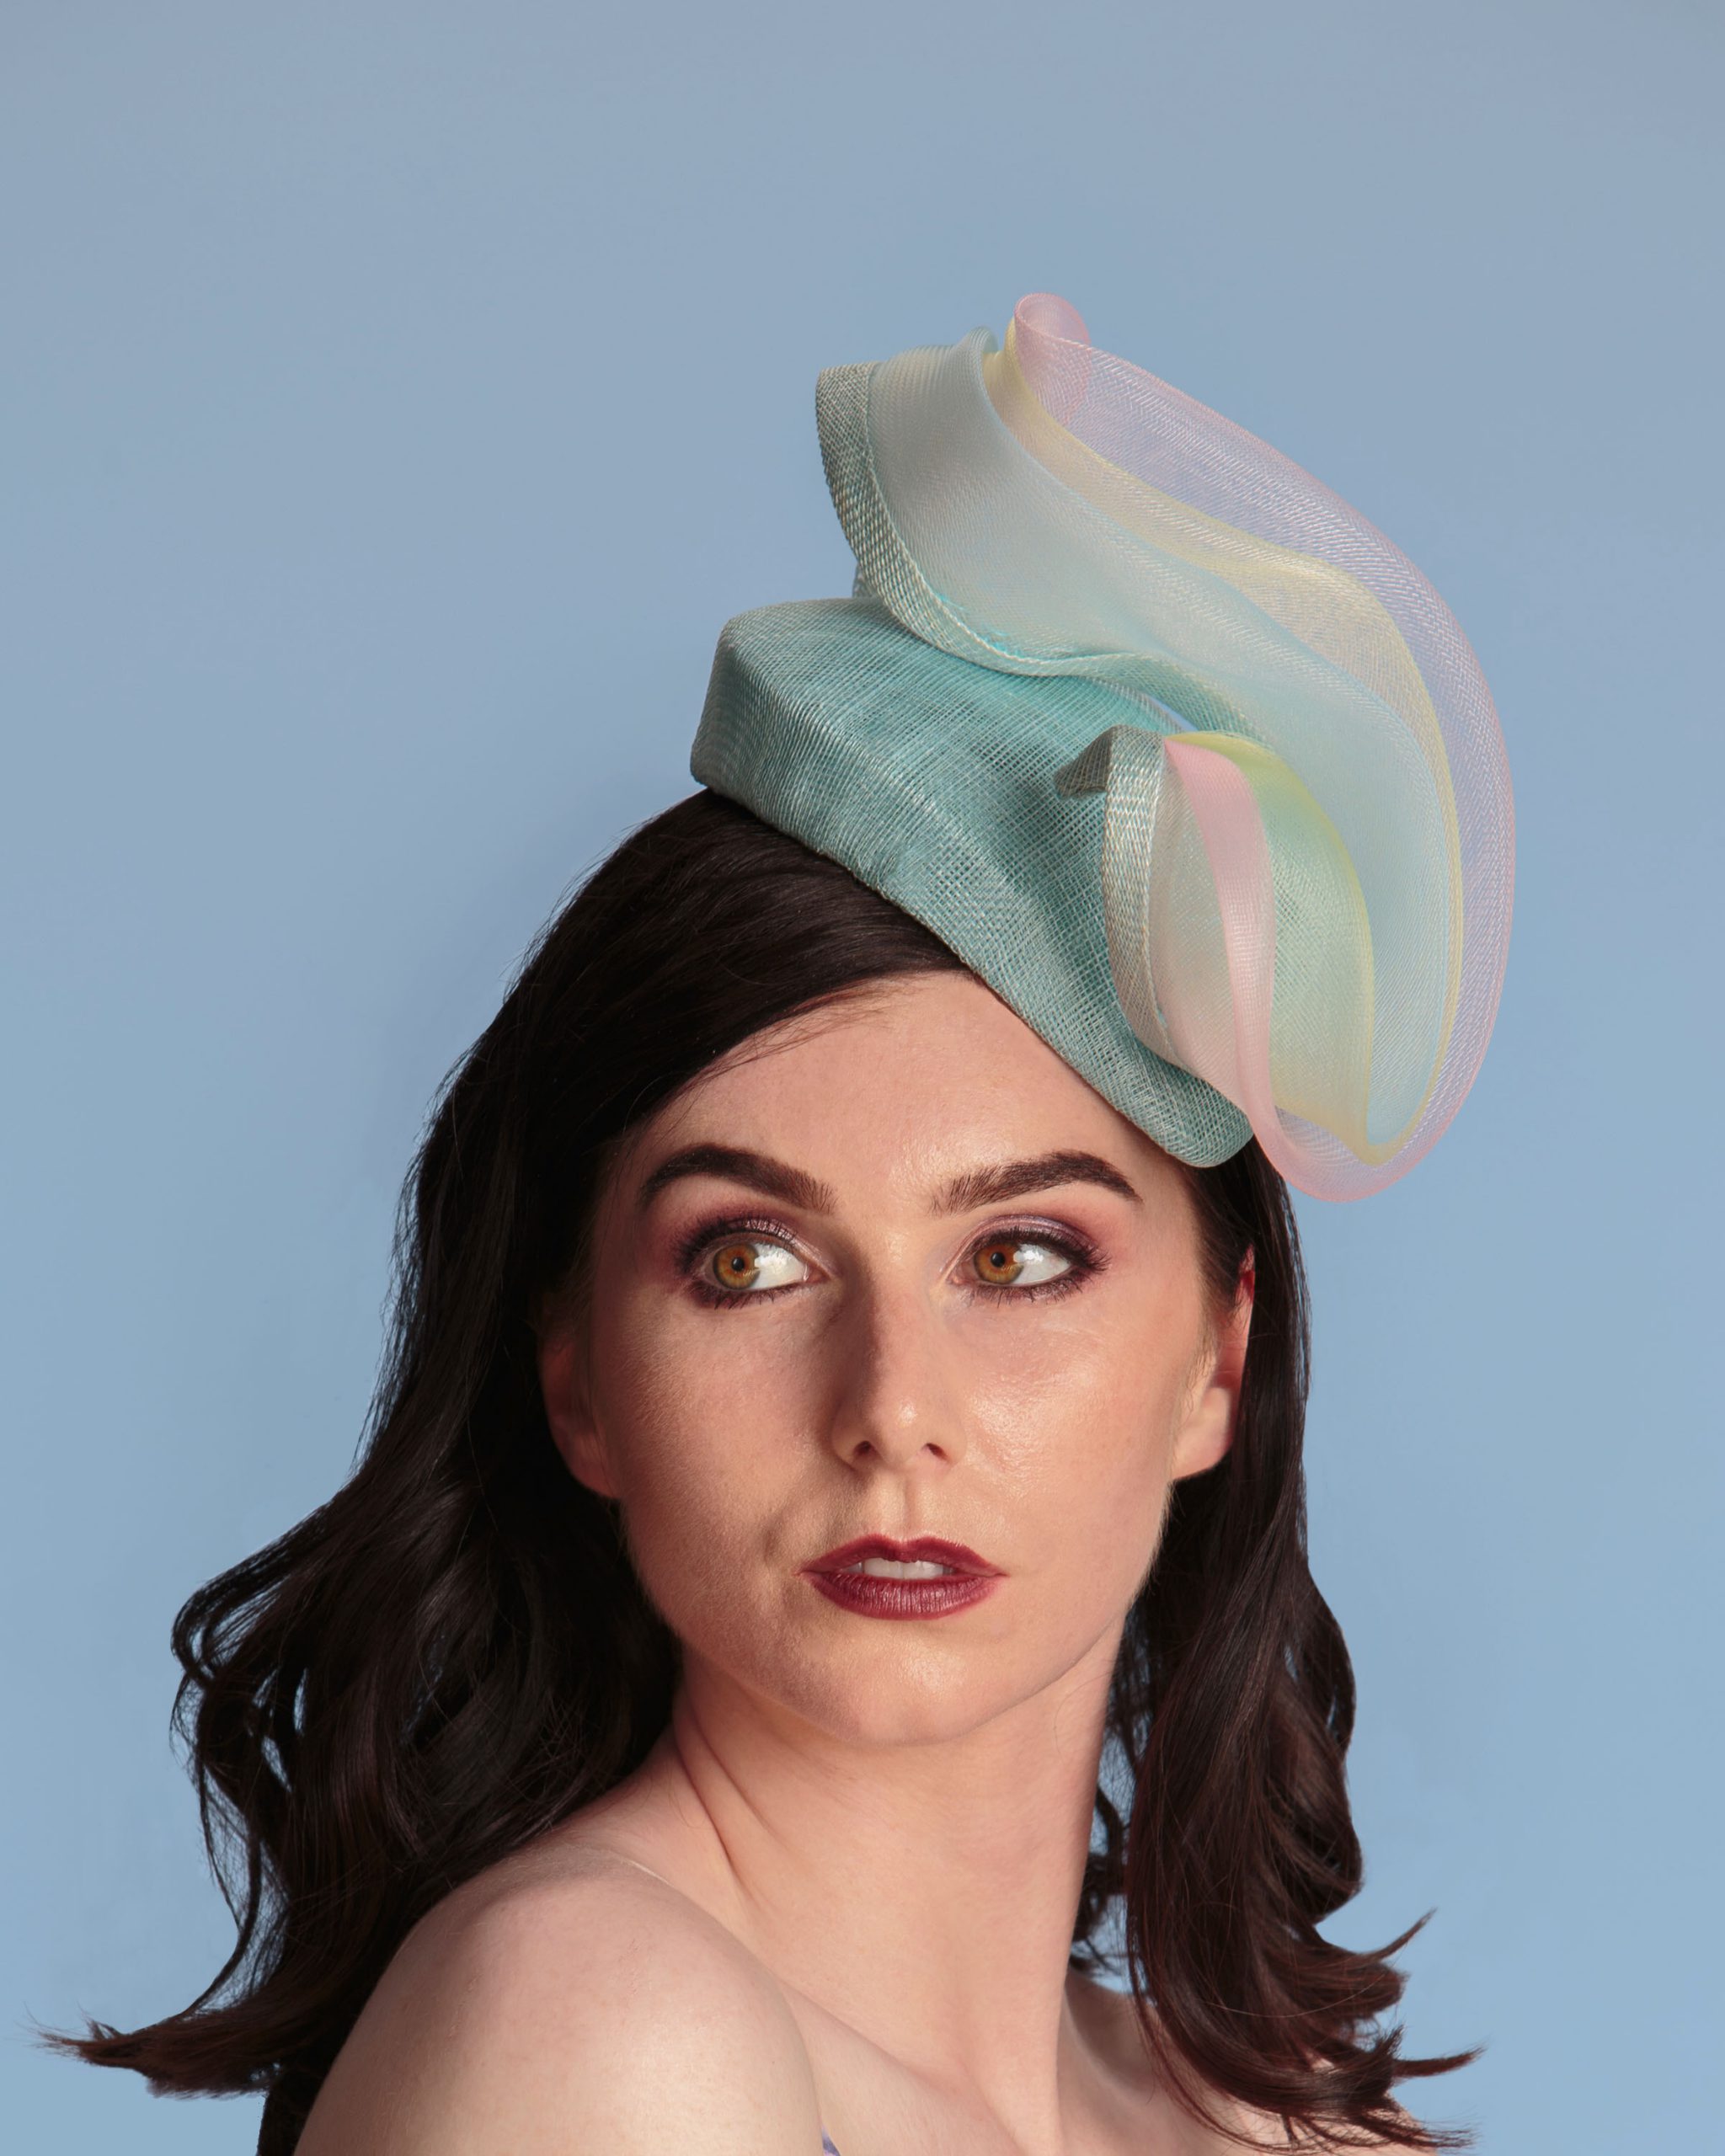
After being in the business for many years ive tried and used lots of ways to fix fascinators and hats to a client or model. Here are some of them:
- Our large fascinators and some headpieces are set on wide satin covered headbands. We tend to have the larger fascinators also with a trim under the headband which is called Millinery loop trim. There are small black elastic loops which you can use if you want to when attaching the fascinator. For instance you can push Kirby grips or slides through the small loops and into your hair, or you can push a length of ribbon or elastic millinery band through a loop on one side and tie onto the loop, then pass to the other side of the headband and tie on to a loop there too. This elastic millinery band will go under your hair and sit at the back of your neck and give lots of extra security. If you have long hair another tip is to push a small comb through this millinery band at the nape of the head and under the hair.
- Our pillbox fascinators tend to sit on either a comb with a millinery loop trim or on a headband or on an elastic hair band. Again use the tips above for the millinery loop trim.
- Our small loop fascinators sit on a comb or a metal headband. We do not cover these headbands as we cannot fix the unique knotting system we use to the band in any way which makes it secure for you (believe me i have tried in the last 15 years!). We do not use plastic headbands as they snap and we do not use headbands with teeth as you cannot move the fascinator up or down the headband to position correctly if there are teeth in the way. The metal headbands are one size only. On rare occasions i will have a client say it is too small or too large… the headband is not small or large but a standard industry size and just needs adjustment. Some ladies hate to wear headbands as they can hurt behind the ears after a while….. two very simple tips are 1) if you have a hot glue gun, place some glue at each end and wrap with ribbon at the end or sew with a stitch or two. 2) if you have some self adhesive Velcro, use the soft part of the Velcro and cut a small oblong piece and wrap around the base.
- Tie a small amount of hair back with an elastic so that the comb or clip has a solid base to grip into. Ie push a comb DOWN into an elastic band
- Place two Kirby grips in a cross shape diagonally through a piece of hair which will be covered by the fascinator. Now push a comb or clip down or side on through the Kirby grips.
- Slim headbands can usually be secured more by placing a Kirby grip through the hair behind each ear to hide it. If the headband is curved, simply bend a Kirby grip on the shorter length so it fits over the band, and now place a straight Kirby grip down the hair and over the end of the curved Kirby grip.
- Wide or covered headbands can be slippy. If you have some stick on Velcro, cut around two inches in length of the Velcro side which has teeth, now place one piece on the left and right side of the headband. The small teetch on the Velcro actually grips to your hair! Use a small amount of hairspray on your hair to have the Velcro secure even better.
Care Advice
I send my fascinators with acid free tissue to ensure that moths will not attack the satin or feathers in the future. Please keep your fascinator stored in this tissue and the cardboard box i send in.
The feathers we use can be ‘plumped’ up by simply standing your fascinator in a steamy bathroom or taking care not to scold yourself, by holding near a steaming iron or kettle for a few seconds but not more than a minute.
Please don’t get water, steam droplets or rain/snow on your fascinator or feathers as i cannot guarantee they will not colour run. Some suppliers hand dye and do not use a setting agent.
For sinamay or straw fascinators which have lost shape, simply steam over a boiling kettle, again taking care not to scold or burn yourself. As soon as the piece has been steamed ie a few seconds, quickly pull into shape and push tissue paper under the fascinator to hold into the shape you are trying to get back to. This also works for net veils.
If you would like your coque feather stems to have more of a curve, you can heat with a curling iron for a few seconds and pull along the stem. Or if it is a fine stem simply pull a sharp finger nail over the stem.. much like when you curl metallic ribbon for presents!
